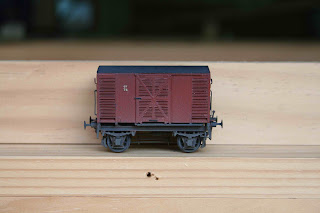
Since last week, I didn't get as much done on the doggies as I would have liked mainly due to some action at the salt mine which prevented me from venturing out to the train cave. But I did manage to get to the point in the build process where I start on the bogies for the elliptical roof LFX and nearly to that point for a Mansard roof car. I also have cleaned up and drilled all the commode handle holes and the door handle holes for a third.
So it's been a painless build so far. All things fit and match where they're supposed to except the ends which needed a small amount of filing to make them butt against the roof line correctly. This is also suggested in the instructions as being possibly necessary. One thing I've learnt with these kits is to be more patient and use a lighter touch than usual. This can't be a bad thing for a modeller to learn and will help me with all the other kits I have filling my cupboards.
The footsteps on the ends of the cars look fantastic with half etch detail of the bracket on the underside so, if you happen to have a derailment, you'll see them when the car is on it side! The point is though, you know the detail is there! Love it. The light switch handle on the other end is especially fine and takes some careful filing with the aid of a jig that's provided with the kit. This allows you to get the piece finished correctly without bending it. It's a half etch that needs to be folded over and soldered and it looks impressive once cleaned up. I'm also impressed with the interior detail which went together easily and helps makes sure the car is square and true. There is no warping or bending in any of the urethane parts so you end up with a completely straight car, so unlike many urethane kits I've built before. It's not hard to remedy a warped side but it's annoying. So here's a piccy of the current progress
Doggy 1 and Doggy 2
So this week the doggies will go into the kennel while I do some bench work and track work. The plan is to do 1 week on each project that way I don't get bored with either of them.


.jpg)


